
If you encounter issues when establishing the connection or other physical problems (faulty socket, damaged cable), you can open a ticket via the ticket system.
To connect, each student must use their personal institutional account (the one used to access Gmail, Meet, Teams, etc.) along with its corresponding password.
For the first use, an 802.1X connection must be created. For future connections, you will not need to repeat the connection setup steps, as you will be able to use the initially created connection.
Create a PPPoE connection
(For WINDOWS 10) Check if a service named “Wired AutoConfig” is running on your computer.
Step 1: Right-click on Start, then click on Computer Management. (Fig. 1)
Step 2: Select Services and Applications -> Services. (Fig. 2)
Step 3: Locate the Wired AutoConfig entry. (Fig. 3)
Step 4: Right-click on the Wired AutoConfig service and select Properties. Set the Startup type to Automatic. You can start the service immediately from this window by clicking Start (unless it is already running). (Fig. 4)
Step 5: Close the dialog box by clicking OK. (Fig. 5)
După verificarea funcționării acestui serviciu continuați cu pașii din secțiunea „Windows”.
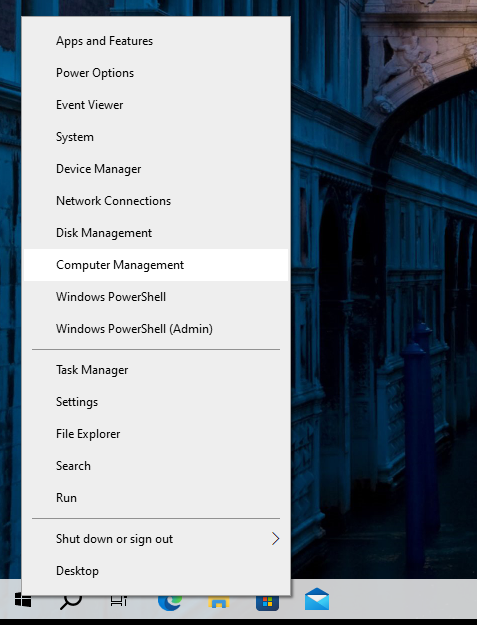
Fig.1 Computer-Management 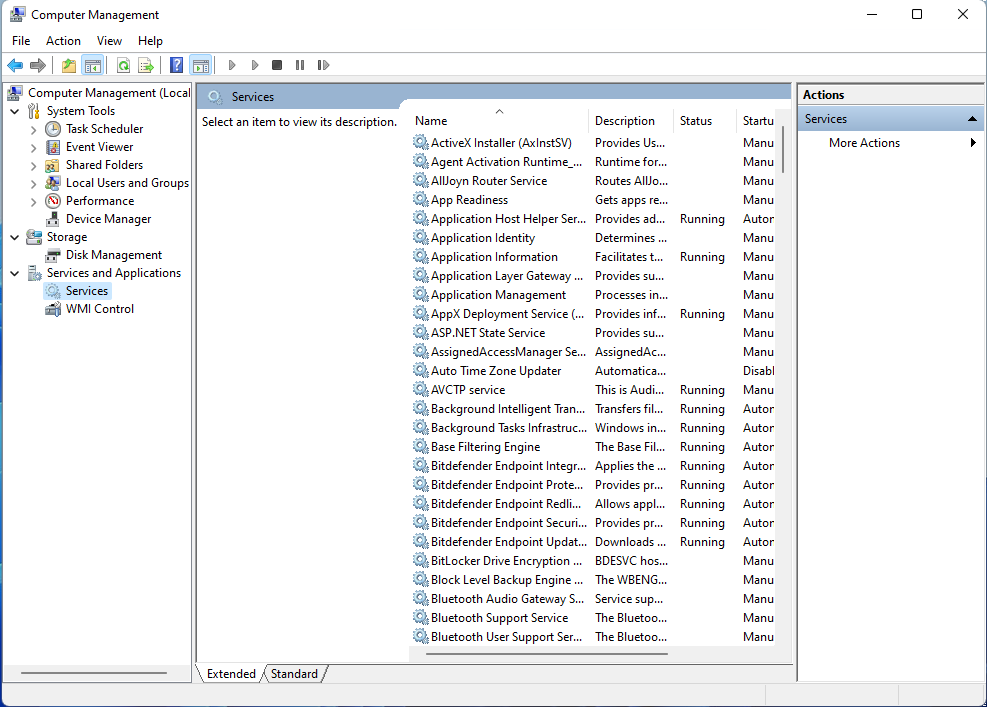
Fig.2 Servicii-si-aplicatii-Servicii 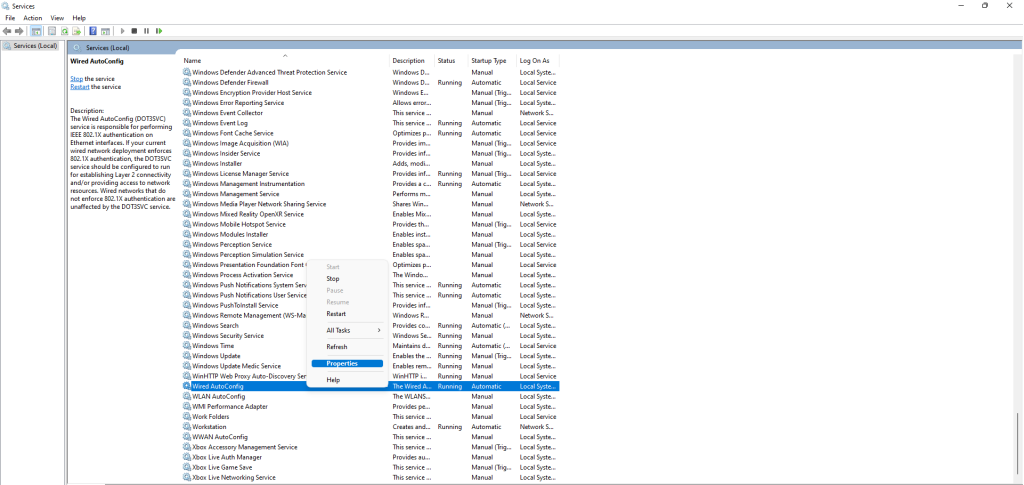
Fig. 3 Wired-AutoConfig-Properties 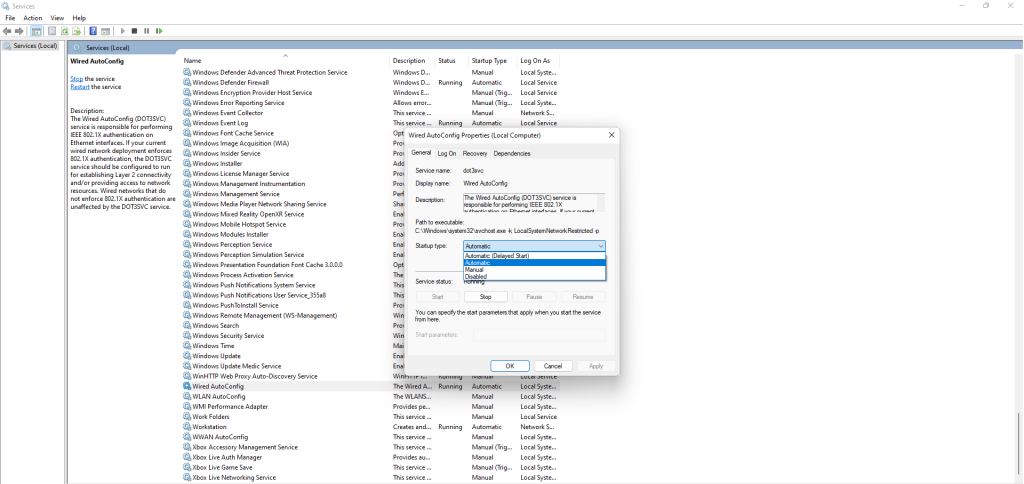
Fig 4. Wired-AutoConfig-Automatic 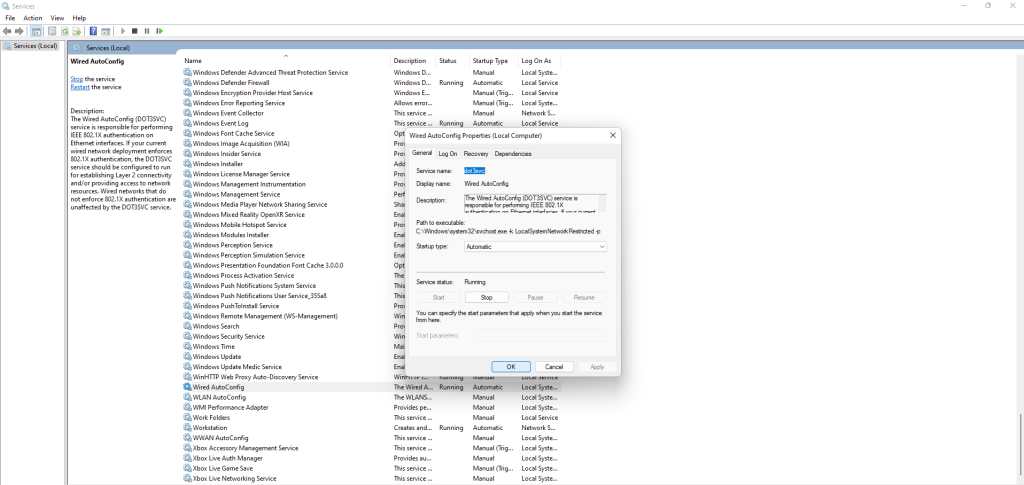
Fig. 5 Wired-AutoConfig-OK-Settings
Windows
To complete Step 1, we assume you have an internet connection through other means (WiFi, LTE, HotSpot, etc.). Alternatively, you can transfer the installer to the device using a USB stick.
Step 1: Access the Eduroam configuration site. Open a browser and go to cat.eduroam.org. Select “Gheorghe Asachi” Technical University of Iași, then choose ‘campus-wired’ from the list. (Fig. 1), (Fig. 2), (Fig. 3).
Step 2: Download the configuration program. Click the ‘eduroam®’ button to download the installer for Windows. After downloading, the file should appear in the Downloads folder. (Fig. 4).
Step 3: Run the configuration program. Open the downloaded file by double-clicking it. If a message like the one shown appears, confirm by clicking ‘Yes’ to configure access on the wired interface. (Fig. 5).
Step 4: Follow the installer’s steps. Enter your authentication details when prompted (your TUIASI institutional email address and account password). After the configuration is complete, the connection should be functional. (Fig. 6), (Fig. 7), (Fig. 8), (Fig. 9).

Fig. 1 cat.eduroam.org 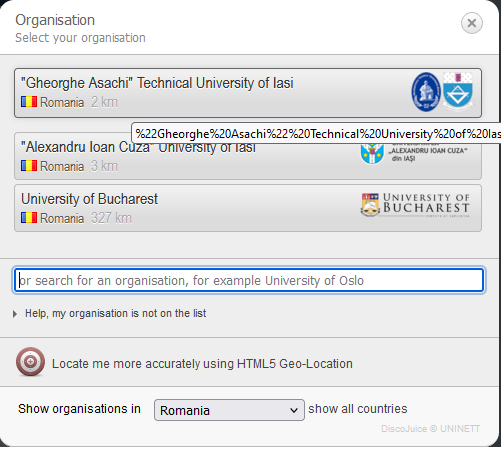
Fig. 2 Selectare-Universitate 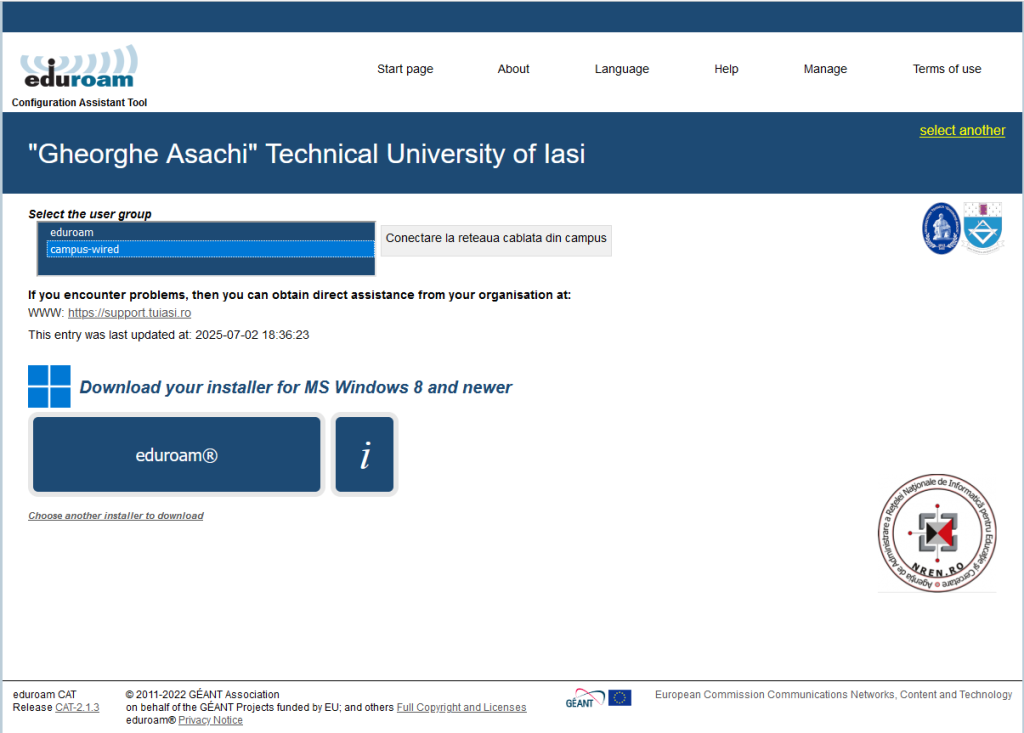
Fig. 3 Site-Eduroam 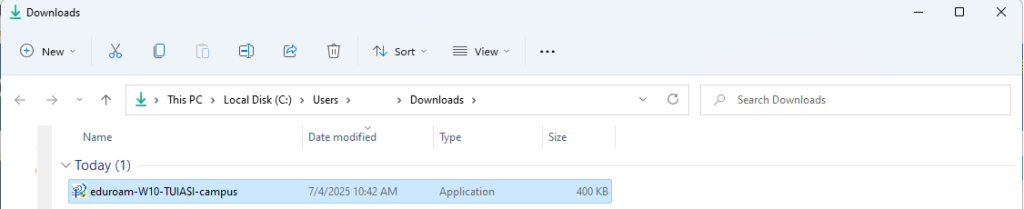
Fig. 4 Descarcare-Aplicatie 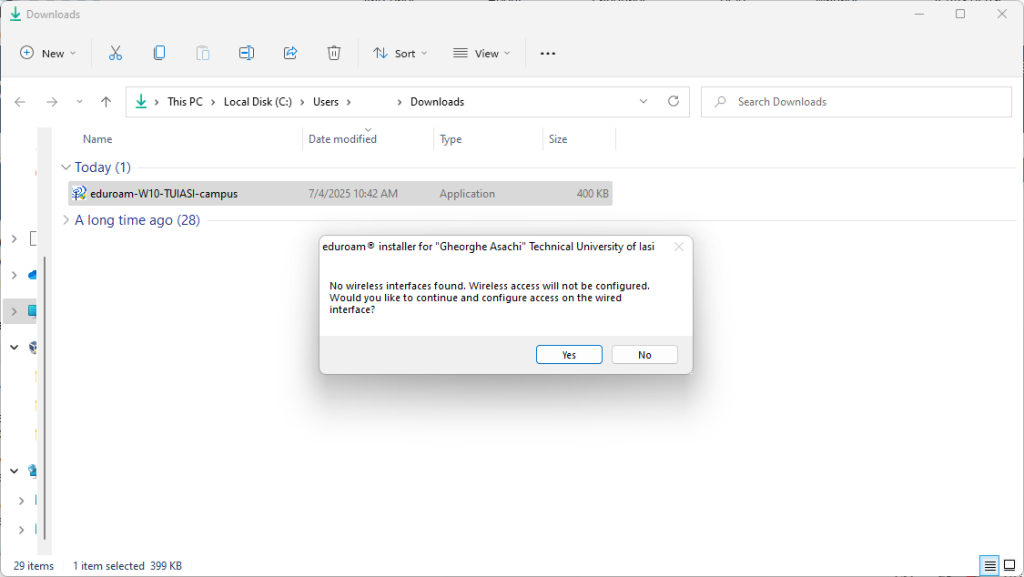
Fig. 5 Rulare-Progam 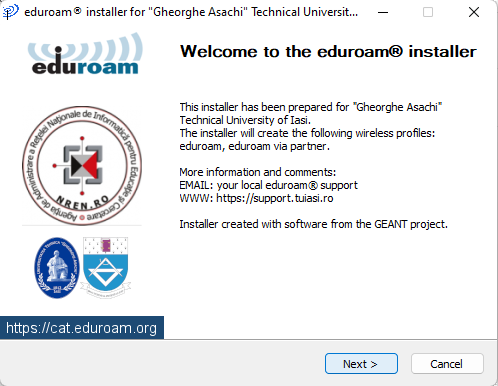
Fig. 6 Installer 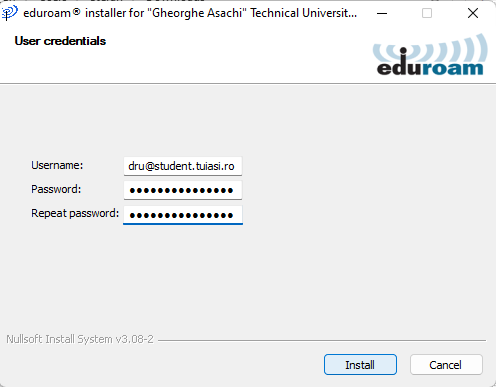
Fig. 7 Installer 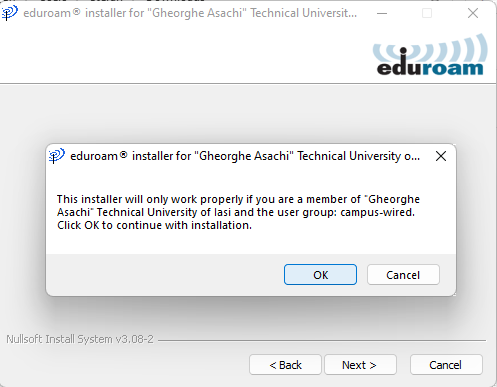
Fig. 8 Installer 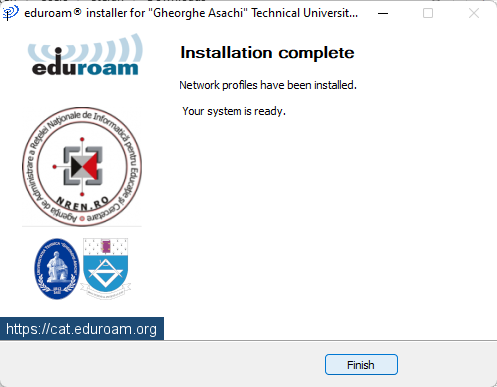
Fig. 9 Installer
Linux
To complete Step 1, we assume you have an internet connection through other means (WiFi, LTE, HotSpot, etc.). Alternatively, you can transfer the installer to the device using a USB stick.
Before proceeding with the steps below, please ensure that the cable is connected to the device you want to connect to the internet.
Step 1: Access the Eduroam configuration site. Open a browser and go to cat.eduroam.org. Select “Gheorghe Asachi” Technical University of Iasi, then choose ‘campus-wired’ from the list. (Fig. 1), (Fig. 2), (Fig. 3)
Step 2: Download the configuration program. Click the ‘eduroam®’ button to download the installer for LINUX. After downloading, the Python file with the .py extension should appear in the Downloads folder. (Fig. 4)
Step 3: Run the configuration program. To run it, the command python3 eduroam-linux-TUIASI-campus.py is required. (Fig. 5)
Step 4: Follow the installer’s steps. Enter your authentication details when prompted (your TUIASI institutional email address and account password). After the configuration is complete, the connection should be functional. (Fig. 6), (Fig. 7), (Fig. 8), (Fig. 9).
Fig. 1 cat.eduroam.org Fig. 2 Selectare-Universitate Fig. 3 Site-Eduroam 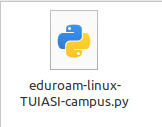
Fig 4. Descarcare-Script 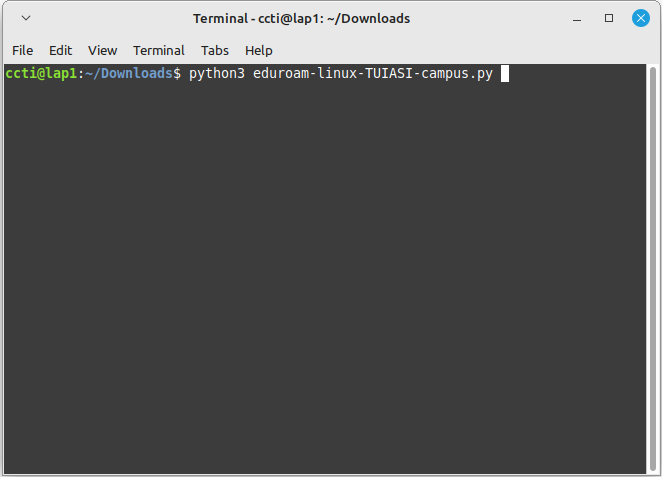
Fig 5. Rulare-script 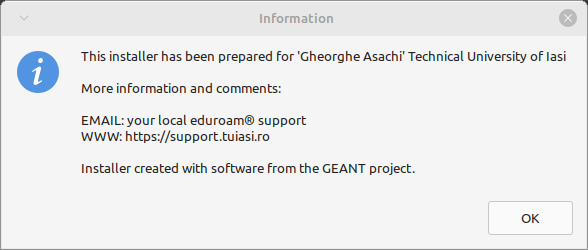
Fig. 6 Information 
Fig. 7 Information 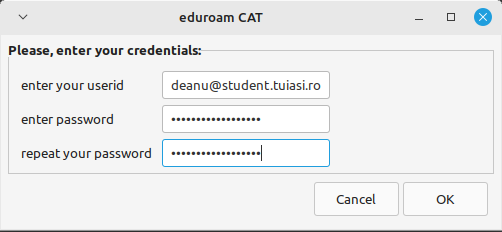
Fig 8. Credentials 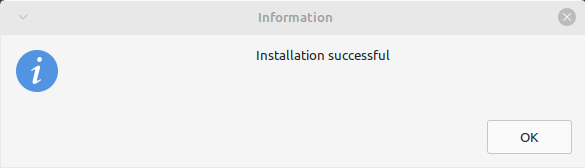
Fig. 9 Success